Installing Cygwin
25 May 2015
As one might expect, taking a voluntary redundancy, job hunting, and getting up to speed in a new role leaves very little time for blogging. Now that I’m able to do so again, I’ve decided that instead of focusing on new programs for a while, I’m going to go through and update previous guides. Cygwin is a moving target, and there have been changes to how windows and cygwin usernames are mapped to each other, and other updates. So first off, installing cygwin…
Installing Cygwin is straightforwards, and works on Windows XP SP3 and on up. In case you had a burning desire to install Cygwin on Windows ME, you’re out of luck, as versions earlier than XP are no longer supported. Cygwin comes in 32 bit and 64 bit options. There are sometimes differences in the packages that are available in each, but they fluctuate over time; now that Cygwin64 has been running for several years, I find no disadvantage to using it. The 64 bit version also includes the option to download a 32 bit compilation toolchain, just in case you want to compile for that architecture.
Go to www.cygwin.com, download setup-x86.exe (32-bit installation) or setup-x86_64.exe (64-bit installation), and run the program.
First, click through the introductory screens:
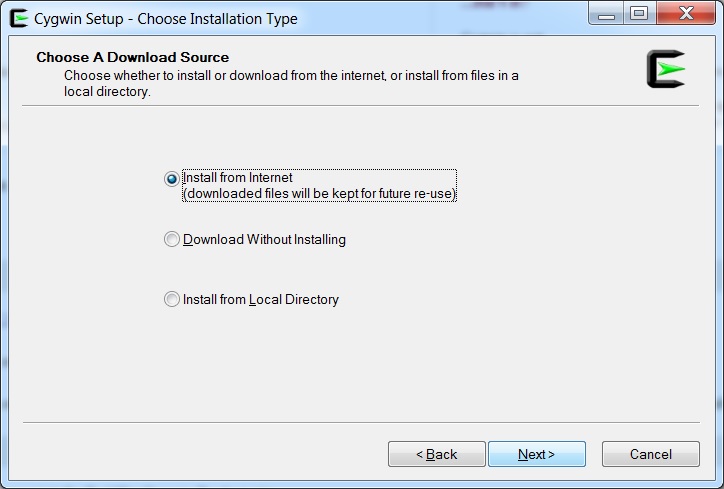
Choose a download source - this really only matters if you want to download on one computer, then install on another:
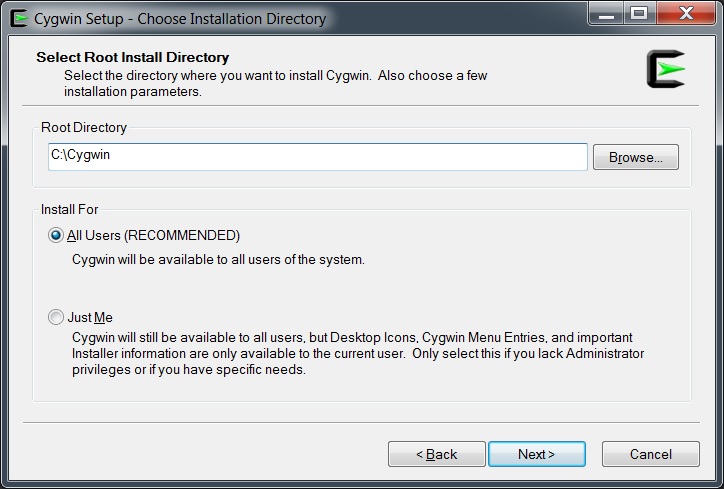
Then choose a directory to install it into. I tend to capitalize the leading ‘C’ to keep it consistent with the other directories, but that’s just personal taste.
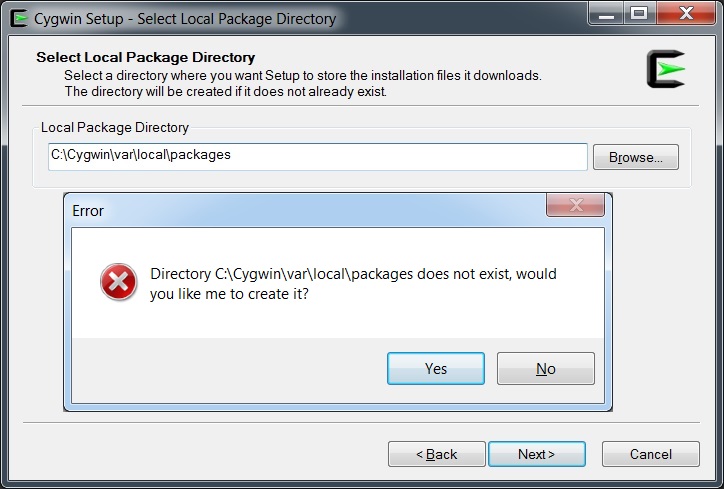
Next, choose where the packages you download will go. The default choice that the program makes isn’t great, so I set it to be a subdirectory in the Cygwin structure, in /var/cache/packages, which is consistent with the purpose of the /var/cache directory.
Select how you’ll connect to the internet. This will be a direct connection for most people, but if you’re using Cygwin at work, it may be through a proxy. If so, you should set it as shown below:
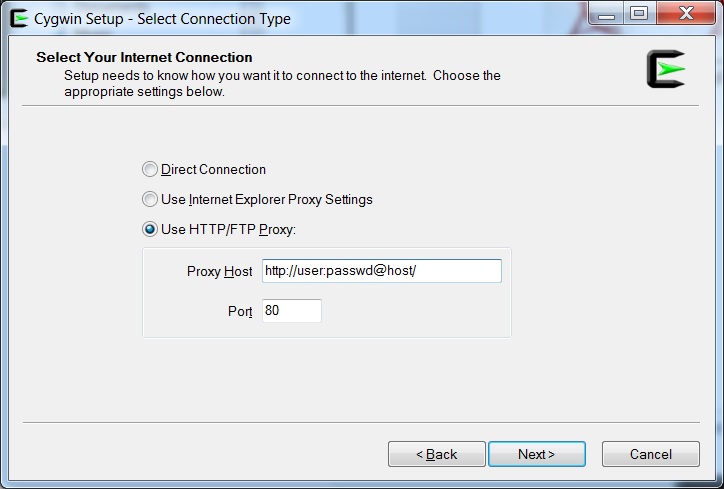
Now is a good time to note down that your .bashrc will need to contain your proxy settings to help programs like git make contact with the outside world. You can set it like so:
# HTTP
export http_proxy=http://user:pass@host:port/

# HTTPS
export https_proxy=https://user:pass@host:port/
Next, choose a mirror that is close to you.
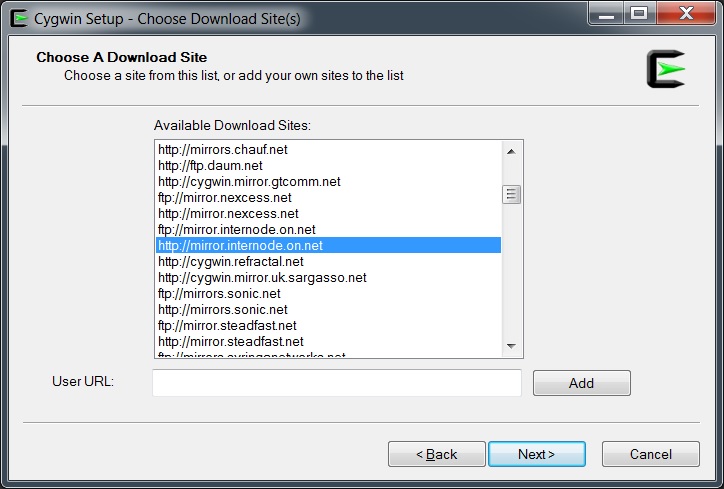
This will then bring up the package selection window.
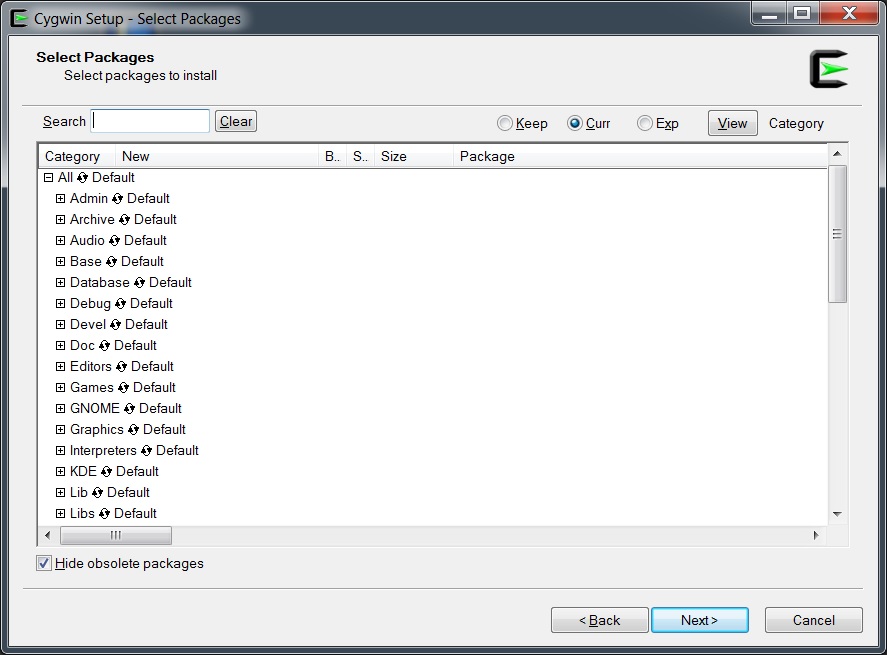
Here it helps to have an understanding of the packages you want to install for your environment. You can run and re-run this program to add and update the packages that have been installed, so if in doubt, stick with a relatively slim selection and add as needed. Dependency resolution is automatically done in the next step. The packages I normally choose (initially) are:
- Admin - shutdown
- Archive - bsdcpio, bsdtar, bzip2, p7zip, unzip, sharutils (contains uuencode/uudecode), zip
- Devel - autoconf, autoconf2.1-2.5, automake 1.1-1.9, binutils, bison, gcc-core, gcc-g++, git, git-completion, gperf, make, patch, patchutils, pkg-config
- Editors - nano, vim
- Interpreters - python, ruby
- Net - bind-utils, ca-certificates, curl, gnutls, inetutils, irssi, lftp, nc, nc6, openssh, openssl, ping, rsync, whois, wget
- Security - pwgen
- Shells - bash-completion
- System - procps, psmisc, util-linux
- Text - aspell, aspell-en, figlet, less
- Utils - colordiff, cpio, diffutils, gnupg, ncurses (enables the ‘clear’ command), nosleep, screen, time
- Web - wget, w3m
Once you go through the rest of the install, you’ll have a cygwin terminal icon on your desktop. If you run it, you will see something similar to the following:
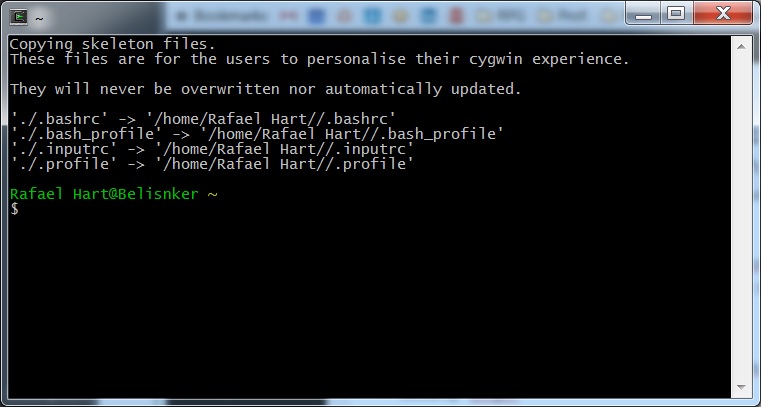
Previously this is the point where you would have changed your home directory via the /etc/passwd file, however that file, and group files are no longer generated by default, starting with Cygwin 1.7.34. This issue is explained here.
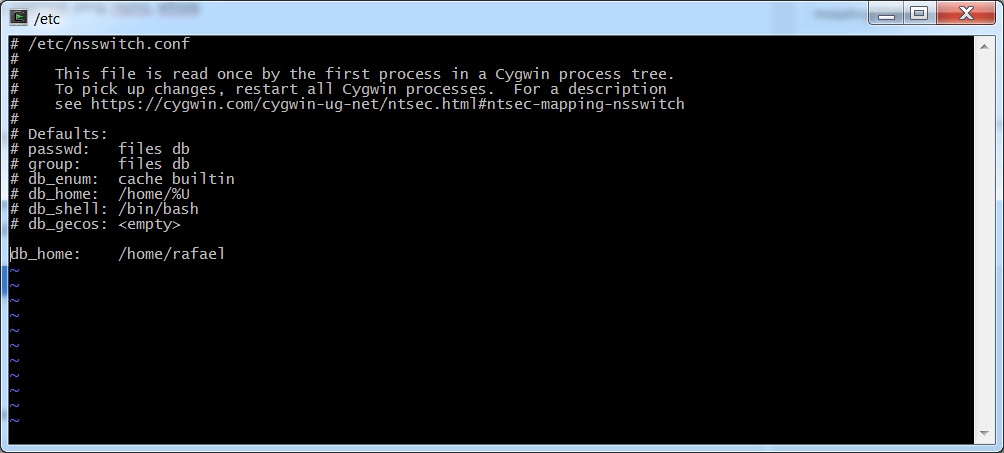
These files can still be generated, and windows will use them by preference if they are present, but this has only been done for backward compatability. When these files aren’t present, Cygwin uses Active Directory, and falls back to SAM where AD is not available. If you just want to change your home directory, and not your username, you can do this by editing the nsswitch.conf file (nano /etc/nssswitch.conf).
However, if you want to have a different Cygwin username to your windows username (as I do), you will need to generate the passwd/group files for the moment.
# Create the passwd file
mkpasswd -l -p "$(cygpath -H)" > /etc/passwd

# Create the group file
mkgroup -L server1 -S= > /etc/group

# Then edit the passwd file
nano /etc/passwd
Open up /etc/passwd in your editor of choice, find the bottom line, and edit each instance of your name to the one you prefer, and the directory location (the bit starting /cygdrive/c/) to reflect where you’d like your home directory:
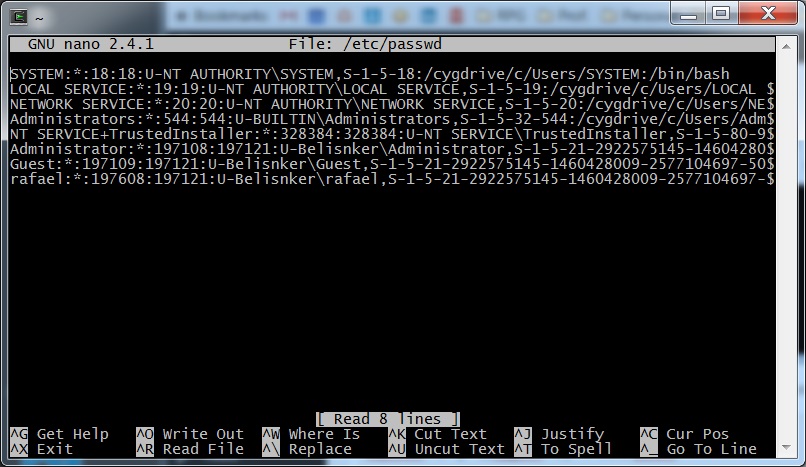
As you can see above, I’ve changed the file to reflect my first name, and a subdirectory in /home. After saving these changes, you’ll need to rename your home directory as well.
cd /home
mv Rafael Hart/ rafael
It should be noted that this would not be advisable for any installation where you are hoping to work with Active Directory. That isn’t a concern for me, as I mostly use it for working with scripts and remote servers. From here you can restart, and you’ll have a basic installation with the username of your choice.
Done!